
Floor Laying Tools and Accessories required to Install Direct Glue Down Engineered Timber Flooring
- Imperial Flooring Australia

- 13 minutes ago
- 4 min read
Installing engineered timber flooring can significantly enhance the aesthetic appeal of any room. If you choose the direct glue down method, having the right tools and accessories is key for a successful and smooth installation. In this blog post, we’ll go over the must-have items for this project, ensuring you have everything you need to get started and complete your installation with ease.
Understanding Direct Glue Down Engineered Timber Flooring Installation
Direct glue down installation is a widely-used method for laying engineered timber floors. This technique involves bonding the flooring planks directly to the subfloor using adhesive. It provides excellent stability, and you won’t need an underlayment. This installation method works well in various settings, from cozy homes to busy commercial spaces. However, executing this procedure correctly is crucial for the floor's durability and visual appeal.
Essential Tools for Installation
1. Trowel
A trowel is crucial for evenly distributing adhesive on the subfloor. A notched trowel is ideal because it forms grooves that enhance adhesion. For instance, when using MS polymer timber floor adhesives, a 4.8mm flat notched trowel is recommended and works well with all subfloor types. If installing a 3-in-1 timber floor adhesive, a 6mm V-notch trowel is necessary to preserve acoustic properties. Using the wrong trowel can result in uneven adhesive application, potentially causing flooring issues over time.
2. Timber Flooring Adhesive
Choosing the appropriate adhesive is essential for your flooring project. Ensure you select one that is specifically designed for engineered timber flooring. Imperial Flooring Australia installs with and exclusively recommends Bostik Ultraset HP Adhesives. For example, utilizing a high-quality MS polymer adhesive can increase bond strength and boost moisture resistance. Always adhere to the manufacturer's application instructions for the best outcomes.
3. Tape Measure
A tape measure is indispensable for accurately measuring the area where the flooring will be installed, as well as the planks themselves. Measuring carefully helps minimise waste and ensures a snug fit around corners or irregular shapes. Aim for precision; even small errors in measurement can significantly impact your installation.
4. Straight Edge / Levelling Tool
Before installation begins, use a leveling tool like a straight edge or a laser level to ensure your subfloor is even. An uneven surface can lead to issues like buckling or warping. Ideally, your subfloor should be 3mm over a 3metre span flat.
5. Flooring Pulling Iron
A flooring pull bar helps you tap and snug the planks together without damage. This tool ensures that panels fit tightly along walls and edges, providing a clean and professional appearance.
6. DIY Floor Laying Kit
At Imperial Flooring Australia, we ensure that buying your flooring package is both enjoyable and straightforward. Our DIY floor laying kit comes with Wedges, a Tapping Block, and a Pull Bar to meet all your essential laying needs.
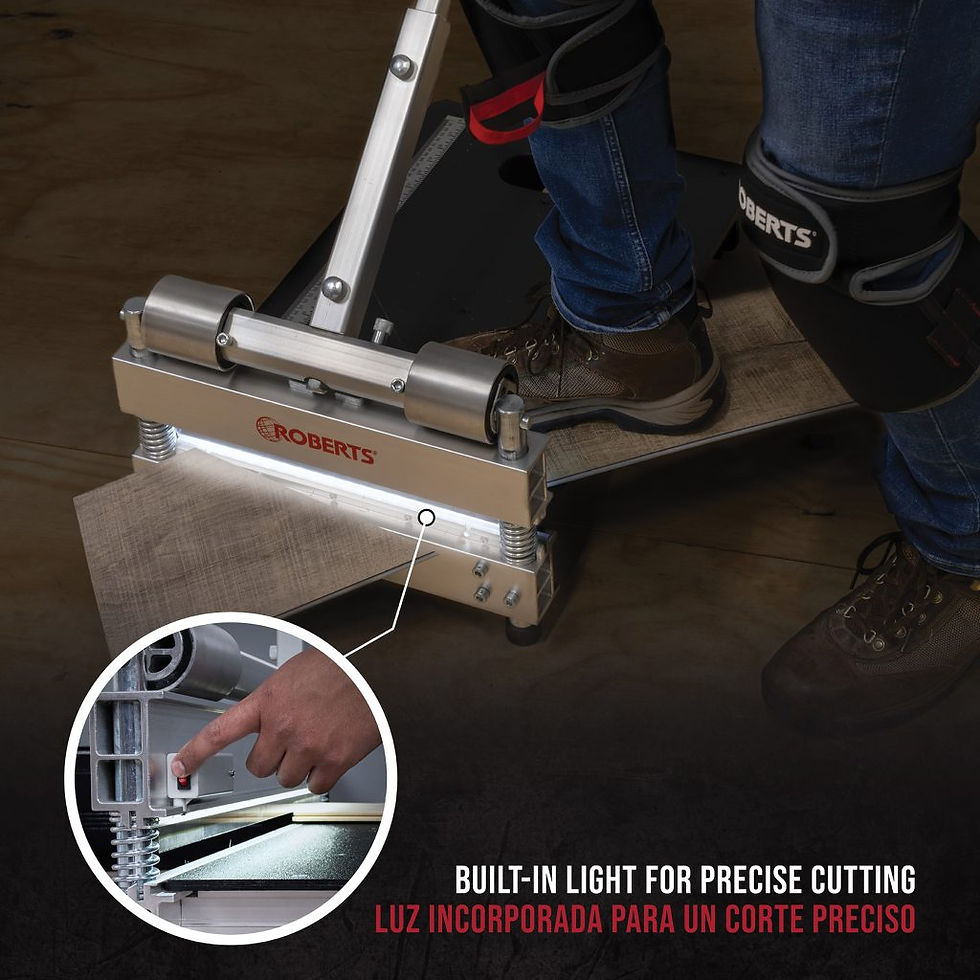
7. Cutting Saw + Table Saw
Choosing the right saw is crucial for cutting planks to size. A mitre saw and table saw will be required for the installation.
Additional Accessories for a Professional Finish
To achieve a polished outcome, consider these additional accessories that complement your toolset.
1. Floor Leveling Compound
Before starting your installation, check your subfloor for imperfections. If you find low spots, a floor leveling compound is vital. This material can help create a smooth, even surface. According to Australian standards, a level subfloor should have irregularities not exceeding 3mm over a 3metre span.
2. Safety Gear
Always prioritize safety. Equip yourself with practical gear, including knee pads and a dust mask. Knee pads offer comfort during extended kneeling, while a dust mask keeps you safe from dust and particles created during cutting and installation. Safety should never be overlooked; it contributes to a smoother installation experience and protects you from injury.
3. Broom and Vacuum
A clean workspace is crucial. Use a broom and vacuum to remove dust and debris from the floor before installation. Keeping the area free of particles ensures better adhesive contact, resulting in a flawless finish.
4. Moisture Barrier
In moisture-prone areas, consider installing a moisture barrier. Ground level concrete subfloors, always ensure a moisture barrier is installed like the Wakol PU280 we recommend. This accessory helps keep moisture from seeping through the subfloor, protecting the longevity of your flooring.
Tips for Precision During Installation
Lay Out Your Floor
Before applying adhesive, lay out your floor sections in a dry run. This lets you visualize the layout and make adjustments if needed.
Follow Manufacturer Instructions
Every engineered timber flooring product has specific instructions. Follow these closely for the best results, including guidance on acclimation, adhesive application, and installation methods. Adhering to these guidelines not only improves the outcome but can also protect warranty coverage.
Allow for Settling Time
Post-installation, be sure to let the floor settle according to the manufacturer’s recommendations. Refrain from heavy foot traffic during this settling phase to allow the adhesive to cure properly, securing your planks firmly.
Wrapping Up
Equipping yourself with the right flooring tools and accessories is crucial for a successful direct glue down installation of engineered timber flooring. Each item, from specialized tools like trowels and pulling bars to vital accessories like spacers and safety gear, plays an important role in contributing to a sturdy and attractive floor. By following best practices and utilising the appropriate materials, you can achieve a professional finish that enhances your space for years to come.


Comentários